Plans built for businesses
Pro + AI
For pro video creation

 1M+ Templates for Tiktok & ReelsNo Ads, no watermark + Pro BadgeSee Profile VisitsRich EditorAI Studio
Advanced + AI
For users who want to generate video ads
All Pro and AI FeaturesMultiple AI JobsHigh Quality ResultsPro Support*Billed yearly
Compare plans
5 Product Photo Editing Tips for Ecommerce in 2024
26 April, 2024
In 2024's competitive ecommerce landscape, captivating product photos are no longer a luxury; they're a necessity. But with limited resources and tight budgets, how can you elevate your product images from pixelated afterthoughts to conversion-driving masterpieces? The answer lies in the strategic application of smart editing techniques.
Dive into our guide to discover the top 5 essential product photo editing tips that will transform your online store into a visual powerhouse, attracting more clicks and boosting your bottom line. Get ready to unlock the secrets to professional-looking edits, even without a fancy studio setup or a photography degree.
What is product photo editing?
Remember that grainy, off-color picture you took of your product with your phone flashlight? Now imagine it transformed: vibrant colors, flawless details, and a background so clean it could host a virtual fashion show. That's the magic of product photo editing, the digital fairy godmother that grants your product photos the makeover they deserve.
It's more than just slapping on a filter, though. Think of it as the sculptor chiseling away at a rough stone, revealing the hidden beauty within. Editing polishes imperfections, enhances clarity, and evens out lighting, making your product the star of the show. It can remove distracting elements, showcase key features, and even add creative touches like shadows or reflections.
Imagine a clothing item looking wrinkle-free and crisp, or jewelry sparkling with enhanced brilliance. That's the power of editing. In the competitive world of online shopping, where first impressions are everything, these tweaks can be the difference between a hesitant "maybe" and an enthusiastic "add to cart."

3 product photoshoot tips to get going
Before you dive into the editing magic, nailing your product photoshoot is key. Here are 3 essential tips to set you up for success:
- Background Bliss: Don't let messy backgrounds steal the show! Choose a clean, clutter-free backdrop that complements your product's colors and style. Solid colors like white, grey, or black are popular choices, but textured backdrops like wood or fabric can add visual interest. Remember, the background should set the stage, not upstage your product.

-
Composition Captivation: Don't just plop your product in the center and call it a day! Think about composition and storytelling. Rule of thirds, leading lines, and negative space can all work wonders.
-
Use props to showcase functionality or context: Capture close-ups to highlight details and textures. Play with different angles to give viewers a 360° view. Remember, you're creating a visual narrative, so engage your audience!
With these three photoshoot hacks in your pocket, you'll capture stunning product images that are primed for the editing magic to come.
3 tips to edit your product photos like a pro
Even the most meticulously planned product shoot can benefit from the magic touch of photo editing. But beyond the basic adjustments of brightness and contrast, there are editing techniques that professional photographers use to elevate their images and truly make products stand out. Here, we'll delve into three key editing secrets to transform your product photos from good to great.
Tip #1: Master the Art of Exposure and White Balance
This might seem fundamental, but it's the foundation of a great product photo. Proper exposure ensures your product isn't shrouded in shadows or blown out by highlights. Here's the pro tip: Use the Curves tool (or its equivalent in your editing software) to target specific areas of your image for exposure adjustments. For example, you can brighten the shadows to reveal texture details without affecting the highlights on a white product.
White balance goes hand-in-hand with exposure. It corrects color casts that might be introduced by artificial lighting or even natural light depending on the time of day. A slightly warm white balance can add a touch of inviting charm, while a cooler white balance creates a crisp, modern feel. But the key is to achieve a neutral white balance for most product photos, especially those showcasing colors accurately. Here's the insider secret: Utilize the eyedropper tool to click on a neutral area in your image, like a white background or a gray card (if you included one during your shoot), and set that as your white balance reference point. This ensures all your whites appear truly white and colors are represented faithfully.
Tip #2: Dodge and Burn for Dimension and Focus
Dodge and burn are two powerful tools that mimic how light interacts with an object in real life. Dodging essentially lightens specific areas, while burning darkens them. This allows you to sculpt the image and add depth. Here's the pro move: Use a soft brush with a low opacity (think 10-20%) to dodge and burn gradually. This creates subtle transitions that look natural. Focus on areas where you want to draw attention, like the edges of your product or specific details you want to highlight. You can even use dodging and burning to refine shadows and make them more natural-looking.
Here's an extra tip: If you're unsure where to dodge and burn, take a look at high-quality product photos from your favorite brands. Observe how they use light and shadow to create a sense of dimension on their products.
Tip #3: Selective Adjustments and Color Grading for Cohesiveness and Brand Identity
Once you've nailed the basics, use selective adjustments and color grading to elevate your photos and establish a signature look. Selective adjustments allow you to target specific color ranges within your image and fine-tune them independently. Here's the pro approach: Use the Hue/Saturation/Lightness adjustment tools to tweak specific colors within your product or background. For instance, you can slightly desaturate the background to make your product pop or enhance a specific color in your product to make it more vibrant.
Color grading adds a whole new layer of sophistication. Here's the insider secret: Experiment with subtle color casts to create a mood or match your brand identity. A touch of warmth can evoke feelings of comfort and luxury, while cooler tones might suggest a modern or tech-savvy brand. Use color grading tools to introduce these subtle shifts, ensuring they complement your product and brand message.
How to create and edit 100+ product photos in minutes
Imagine this: you have 100+ products to showcase online, but the thought of endless photoshoot sessions and tedious editing makes you shudder. What if you could magically generate professional-quality product photos in mere minutes, all from the comfort of your computer? Enter Zoomerang's AI Photoshoot tool, your gateway to effortless product photography and skyrocketing sales.
Here's how Zoomerang's AI works its magic:
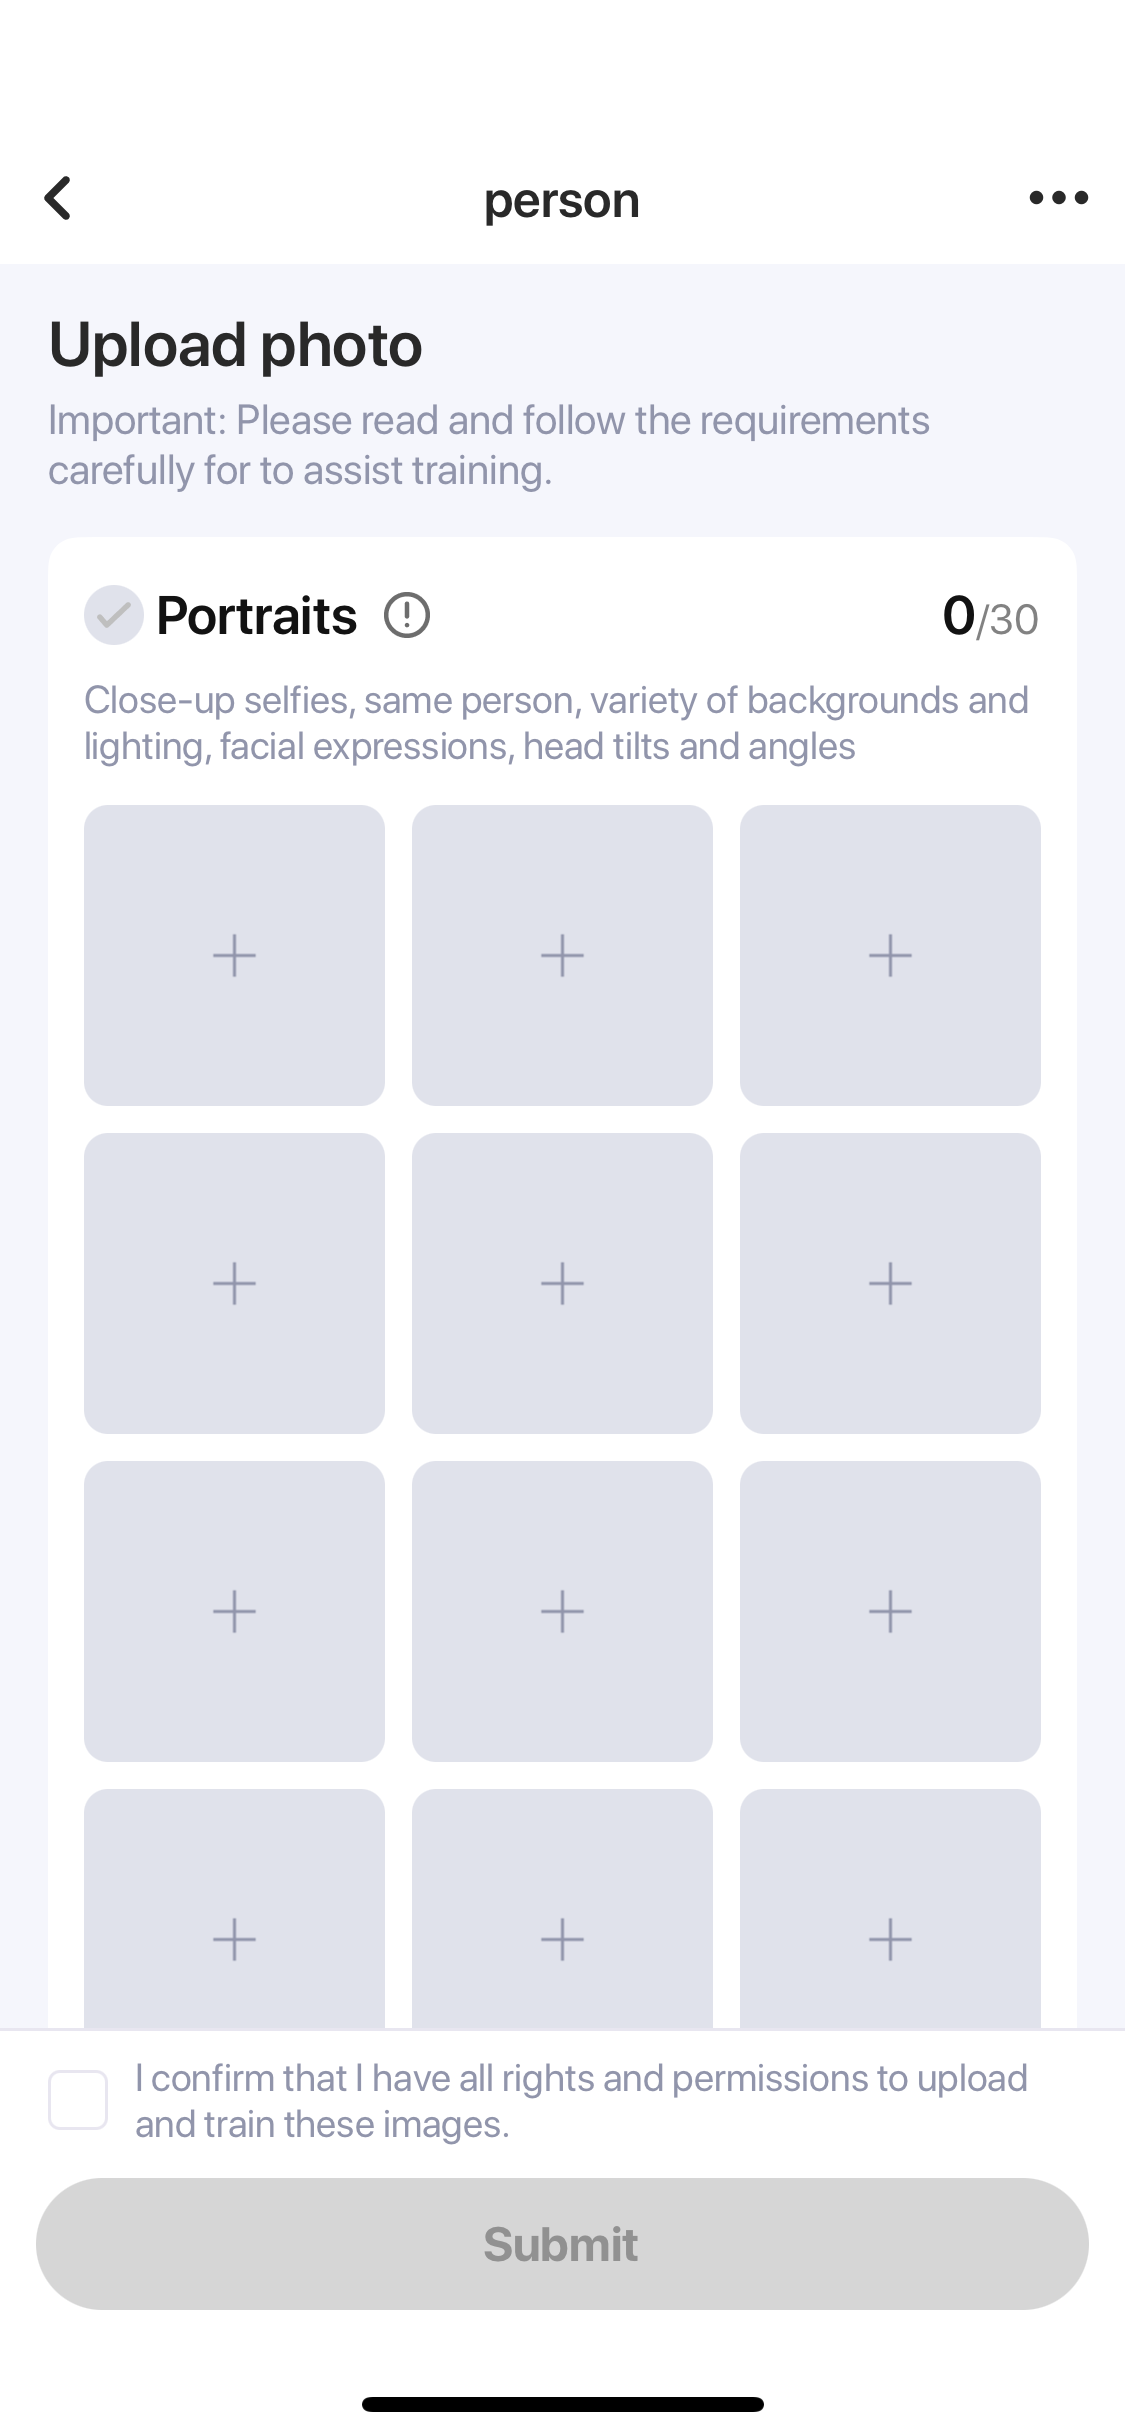
- Train Your AI Model: Start by selecting your product type and uploading images from different angles. Zoomerang's AI whizzes then analyze these images, capturing your product's essence and building a custom AI model just for you. Think of it as your own personal photo studio assistant, trained to understand your product inside and out.

- Text-to-Image Marvels: Now comes the fun part! Describe the photo you envision using simple text. Want your product against a sleek white background? Done. Need it showcasing a specific feature? No problem. Zoomerang's AI interprets your words and generates stunning, photorealistic images that match your vision perfectly.
-
Pose, Perfect, Publish: But wait, there's more! Zoomerang doesn't just create flat images. It lets you choose your model's pose, camera angle, and even 3D or 2D styles, giving you complete creative control. Imagine showcasing your product from every angle, highlighting intricate details, and creating dynamic compositions – all without ever touching a camera.
-
Create Once, Use Infinitely: The magic doesn't stop there. Your custom AI model is yours to keep, ready to churn out unlimited product photos whenever you need them. Update your inventory? Simply tweak the text descriptions and generate fresh photos in minutes. Need social media content? Let your AI model create eye-catching product images that will stop the scroll and drive engagement.
Zoomerang's AI Photoshoot tool is more than just a timesaver; it's a game-changer. It breaks down resource barriers, allowing you to create high-quality product photography without expensive studios or photographers. It empowers you to experiment and iterate with different styles and angles, finding the perfect way to showcase your products. And most importantly, it frees you to focus on what truly matters: growing your business and connecting with your customers.
So ditch the limitations of traditional photography and embrace the future of ecommerce content creation with Zoomerang's AI Photoshoot tool.

Conclusion
As we conclude our exploration of product photo editing in 2024, it's clear that embracing these techniques and leveraging innovative tools is essential for staying ahead in the competitive ecommerce landscape.
By investing in the visual presentation of products, businesses not only enhance their online presence but also forge deeper connections with consumers, ultimately driving growth and success in the digital marketplace. So, let's embrace the transformative power of product photo editing and embark on a journey toward ecommerce excellence.
 Sargis Avagyan