Plans built for businesses
Pro + AI
For pro video creation

 1M+ Templates for Tiktok & ReelsNo Ads, no watermark + Pro BadgeSee Profile VisitsRich EditorAI Studio
Advanced + AI
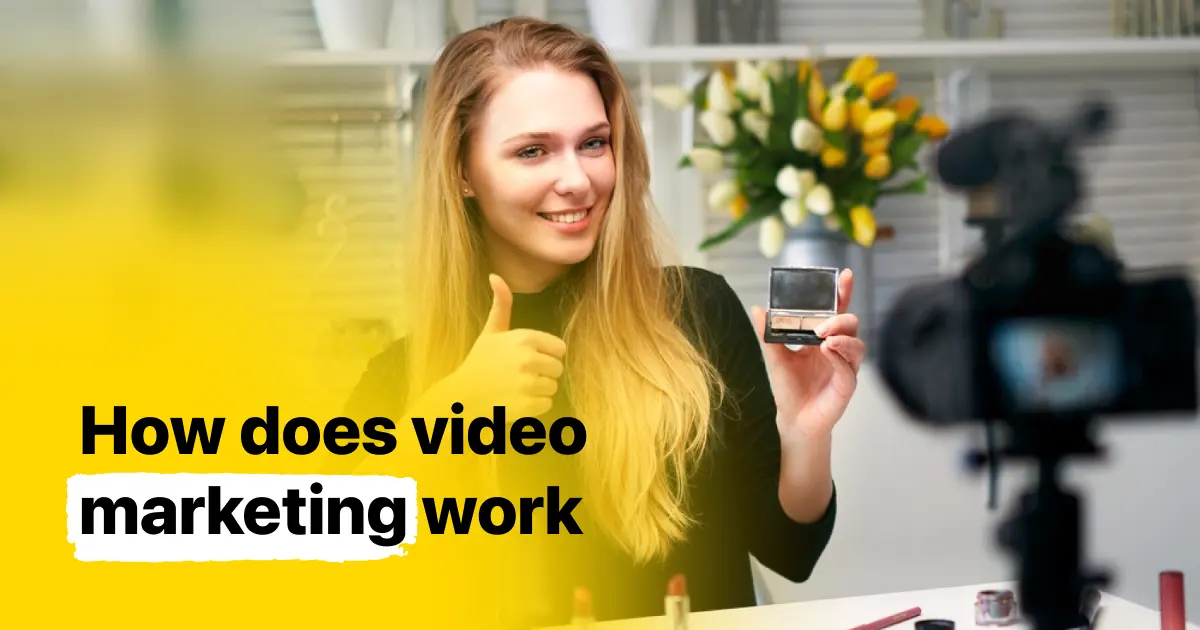
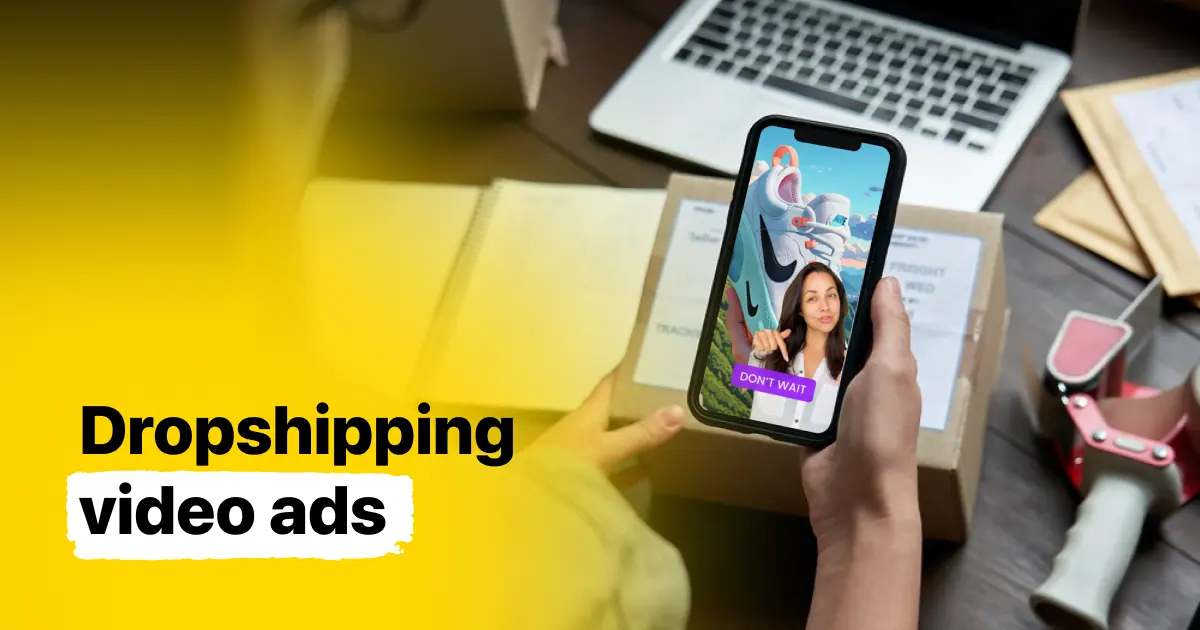
For users who want to generate video ads
All Pro and AI FeaturesMultiple AI JobsHigh Quality ResultsPro Support*Billed yearly
Compare plans
Your Complete Video Marketing Checklist for 2024
1 August, 2024
Video marketing has transformed the way brands communicate with their audience. In a world where attention spans are shrinking and content consumption is at an all-time high, video stands out as a compelling medium to capture and retain viewer interest.
From short, snappy clips on social media to in-depth product demonstrations, videos offer a versatile platform to tell your brand’s story, drive engagement, and ultimately boost conversions.
However, diving into video marketing without a clear plan can lead to wasted resources and missed opportunities.
Whether you’re an experienced marketer looking to refine your approach or a beginner eager to explore the potential of video, having a detailed, step-by-step checklist is invaluable.
This guide aims to be your ultimate resource for navigating the video marketing landscape in 2024, providing you with everything you need from initial planning to final execution.
By the end of this journey, you’ll be equipped with the knowledge and tools to create videos that not only captivate your audience but also achieve your marketing goals. Let's dive in and unlock the full potential of video marketing together!
Checklist Overview
- Define Your Goals and Objectives
- Understand Your Audience
- Plan the Budgeting and Resources
- Craft Your Script
- Create a Storyboard
- Choose the Right Equipment
- Set Up Your Filming Location
- Direct Your Shoot
- Capture B-Roll
- Edit Your Video
- Sound Design
- Color Correction and Grading
- Add Subtitles and Captions
- Export and Upload
- Use Zoomerang AI to Skip the first 13 Points
Pre-Production Planning
Before you even think about hitting the record button, thorough planning is essential. This stage sets the foundation for your video project and ensures everything runs smoothly down the line.
1. Define Your Goals and Objectives
-
Identify Your Purpose: What do you want to achieve with your video? Are you looking to increase brand awareness, drive traffic to your website, or boost sales?
-
Set SMART Goals: Make sure your goals are Specific, Measurable, Achievable, Relevant, and Time-bound. For example, "Increase website traffic by 20% in the next three months through video content."
2. Understand Your Audience
-
Create Buyer Personas: Develop detailed profiles of your target audience. Include demographics, interests, pain points, and preferred social media platforms.
-
Conduct Audience Research: Use tools like Google Analytics and social media insights to gather data on your audience’s behavior and preferences.
3. Budgeting and Resources
-
Determine Your Budget: Outline all potential costs, including equipment, software, talent, and advertising.
-
Allocate Resources: Identify the team members involved and their roles. This could include scriptwriters, videographers, editors, and marketing strategists.
Script and Storyboard Development
With a solid plan in place, it’s time to dive into the creative aspects of your video project. Crafting a compelling script and storyboard is crucial for delivering a clear and engaging message. This stage is where you breathe life into your ideas, turning abstract concepts into tangible visuals and dialogue that will captivate your audience.
4. Crafting Your Script
Outline Your Key Messages:
-
Identify Core Messages: Start by determining the primary points you want to convey. These should align with your video's goals, such as educating, entertaining, or persuading your audience.
-
Prioritize Clarity and Brevity: Ensure that your key messages are clear and to the point. Avoid overloading your script with too much information, which can dilute your main points.
-
Create a Narrative Arc: Structure your script with a beginning, middle, and end. This helps maintain a logical flow and keeps viewers engaged from start to finish.
Write in a Conversational Tone:
-
Engage Your Audience: Your script should feel like a conversation with your viewers. Use language that is relatable and easy to understand, avoiding jargon and technical terms unless absolutely necessary.
-
Inject Personality: Don’t be afraid to let your brand’s personality shine through. A touch of humor, emotion, or storytelling can make your video more memorable.
-
Read Aloud Test: Once written, read your script aloud to ensure it sounds natural. This can help you catch awkward phrasing and ensure the dialogue flows smoothly.
Include a Strong CTA:
-
Be Direct and Specific: Clearly state what action you want your viewers to take after watching your video. This could be visiting your website, subscribing to your channel, or making a purchase.
-
Incorporate Urgency: Adding a sense of urgency can encourage immediate action. Phrases like “limited time offer” or “sign up now” can be effective.
-
Ensure Relevance: Make sure your CTA aligns with the content of your video and the interests of your audience. A well-placed CTA can significantly boost engagement and conversions.
5. Creating a Storyboard
Visualize Your Script:
-
Scene Breakdown: Divide your script into individual scenes, each representing a specific part of your story. This helps in organizing your ideas and ensures a logical sequence of events.
-
Sketch Key Frames: Draw rough sketches of key scenes. These don’t need to be artistically perfect but should give a clear idea of what each scene will look like.
-
Detail Visual Elements: Include notes on important visual elements like background, props, and character movements. This helps in visualizing how the story will unfold on screen.
Detail Each Shot:
-
Camera Angles and Movements: Specify the camera angles and movements for each shot. This could include close-ups, wide shots, pans, and tilts. Different angles and movements can convey different emotions and keep the visual interest high.
-
Shot Duration: Estimate the duration of each shot. This helps in pacing your video and ensures that each scene gets the appropriate amount of screen time.
-
Focus Points: Identify the main focus of each shot, whether it’s a person, product, or action. This ensures that your audience’s attention is directed to the right place.
Plan Transitions and Effects:
-
Smooth Transitions: Decide on the types of transitions between scenes, such as cuts, fades, or wipes. Smooth transitions can enhance the flow of your video.
-
Special Effects: Plan any special effects or animations you want to include. These should complement your story and not distract from the main message.
-
Visual Consistency: Ensure that the transitions and effects align with your video’s overall style and tone, maintaining a consistent visual aesthetic.
Production Preparation
Now that you have your script and storyboard, it’s time to prepare for the actual production. This involves organizing all the logistics to ensure a smooth filming process. Thorough preparation can save time, reduce stress, and ensure that you capture all the footage you need.
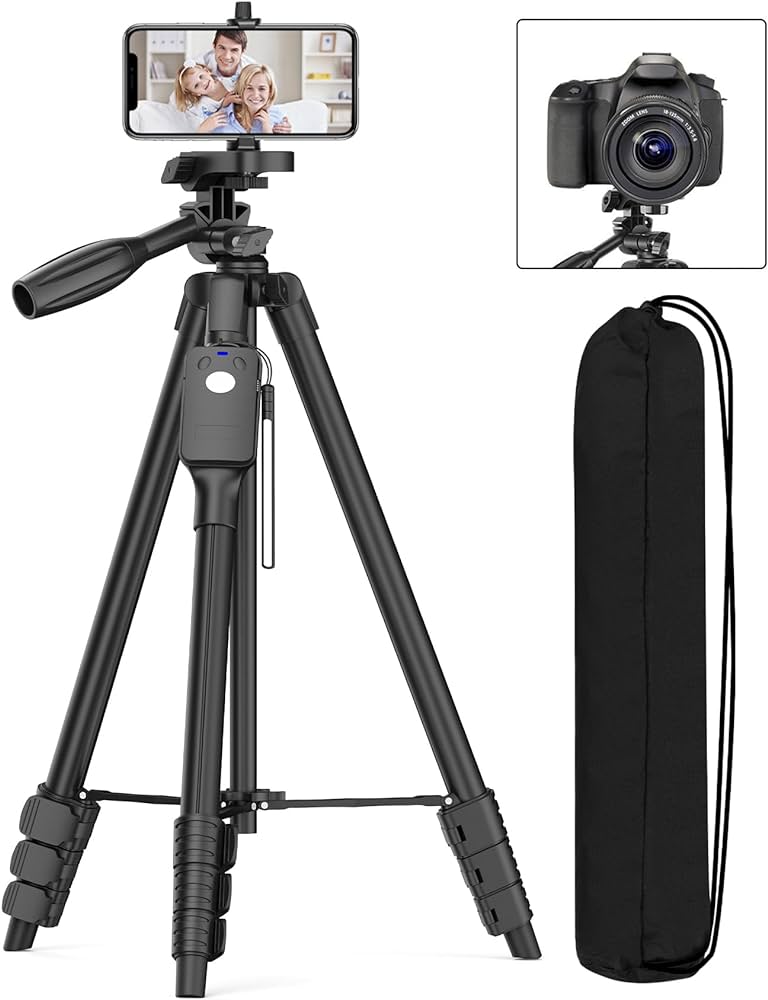
6. Choosing the Right Equipment
Cameras and Lenses:
- Camera Selection: Choose a camera that meets your project’s needs. DSLRs and mirrorless cameras offer high-quality video and are versatile for various shooting conditions. For higher-end productions, cinema cameras might be necessary.
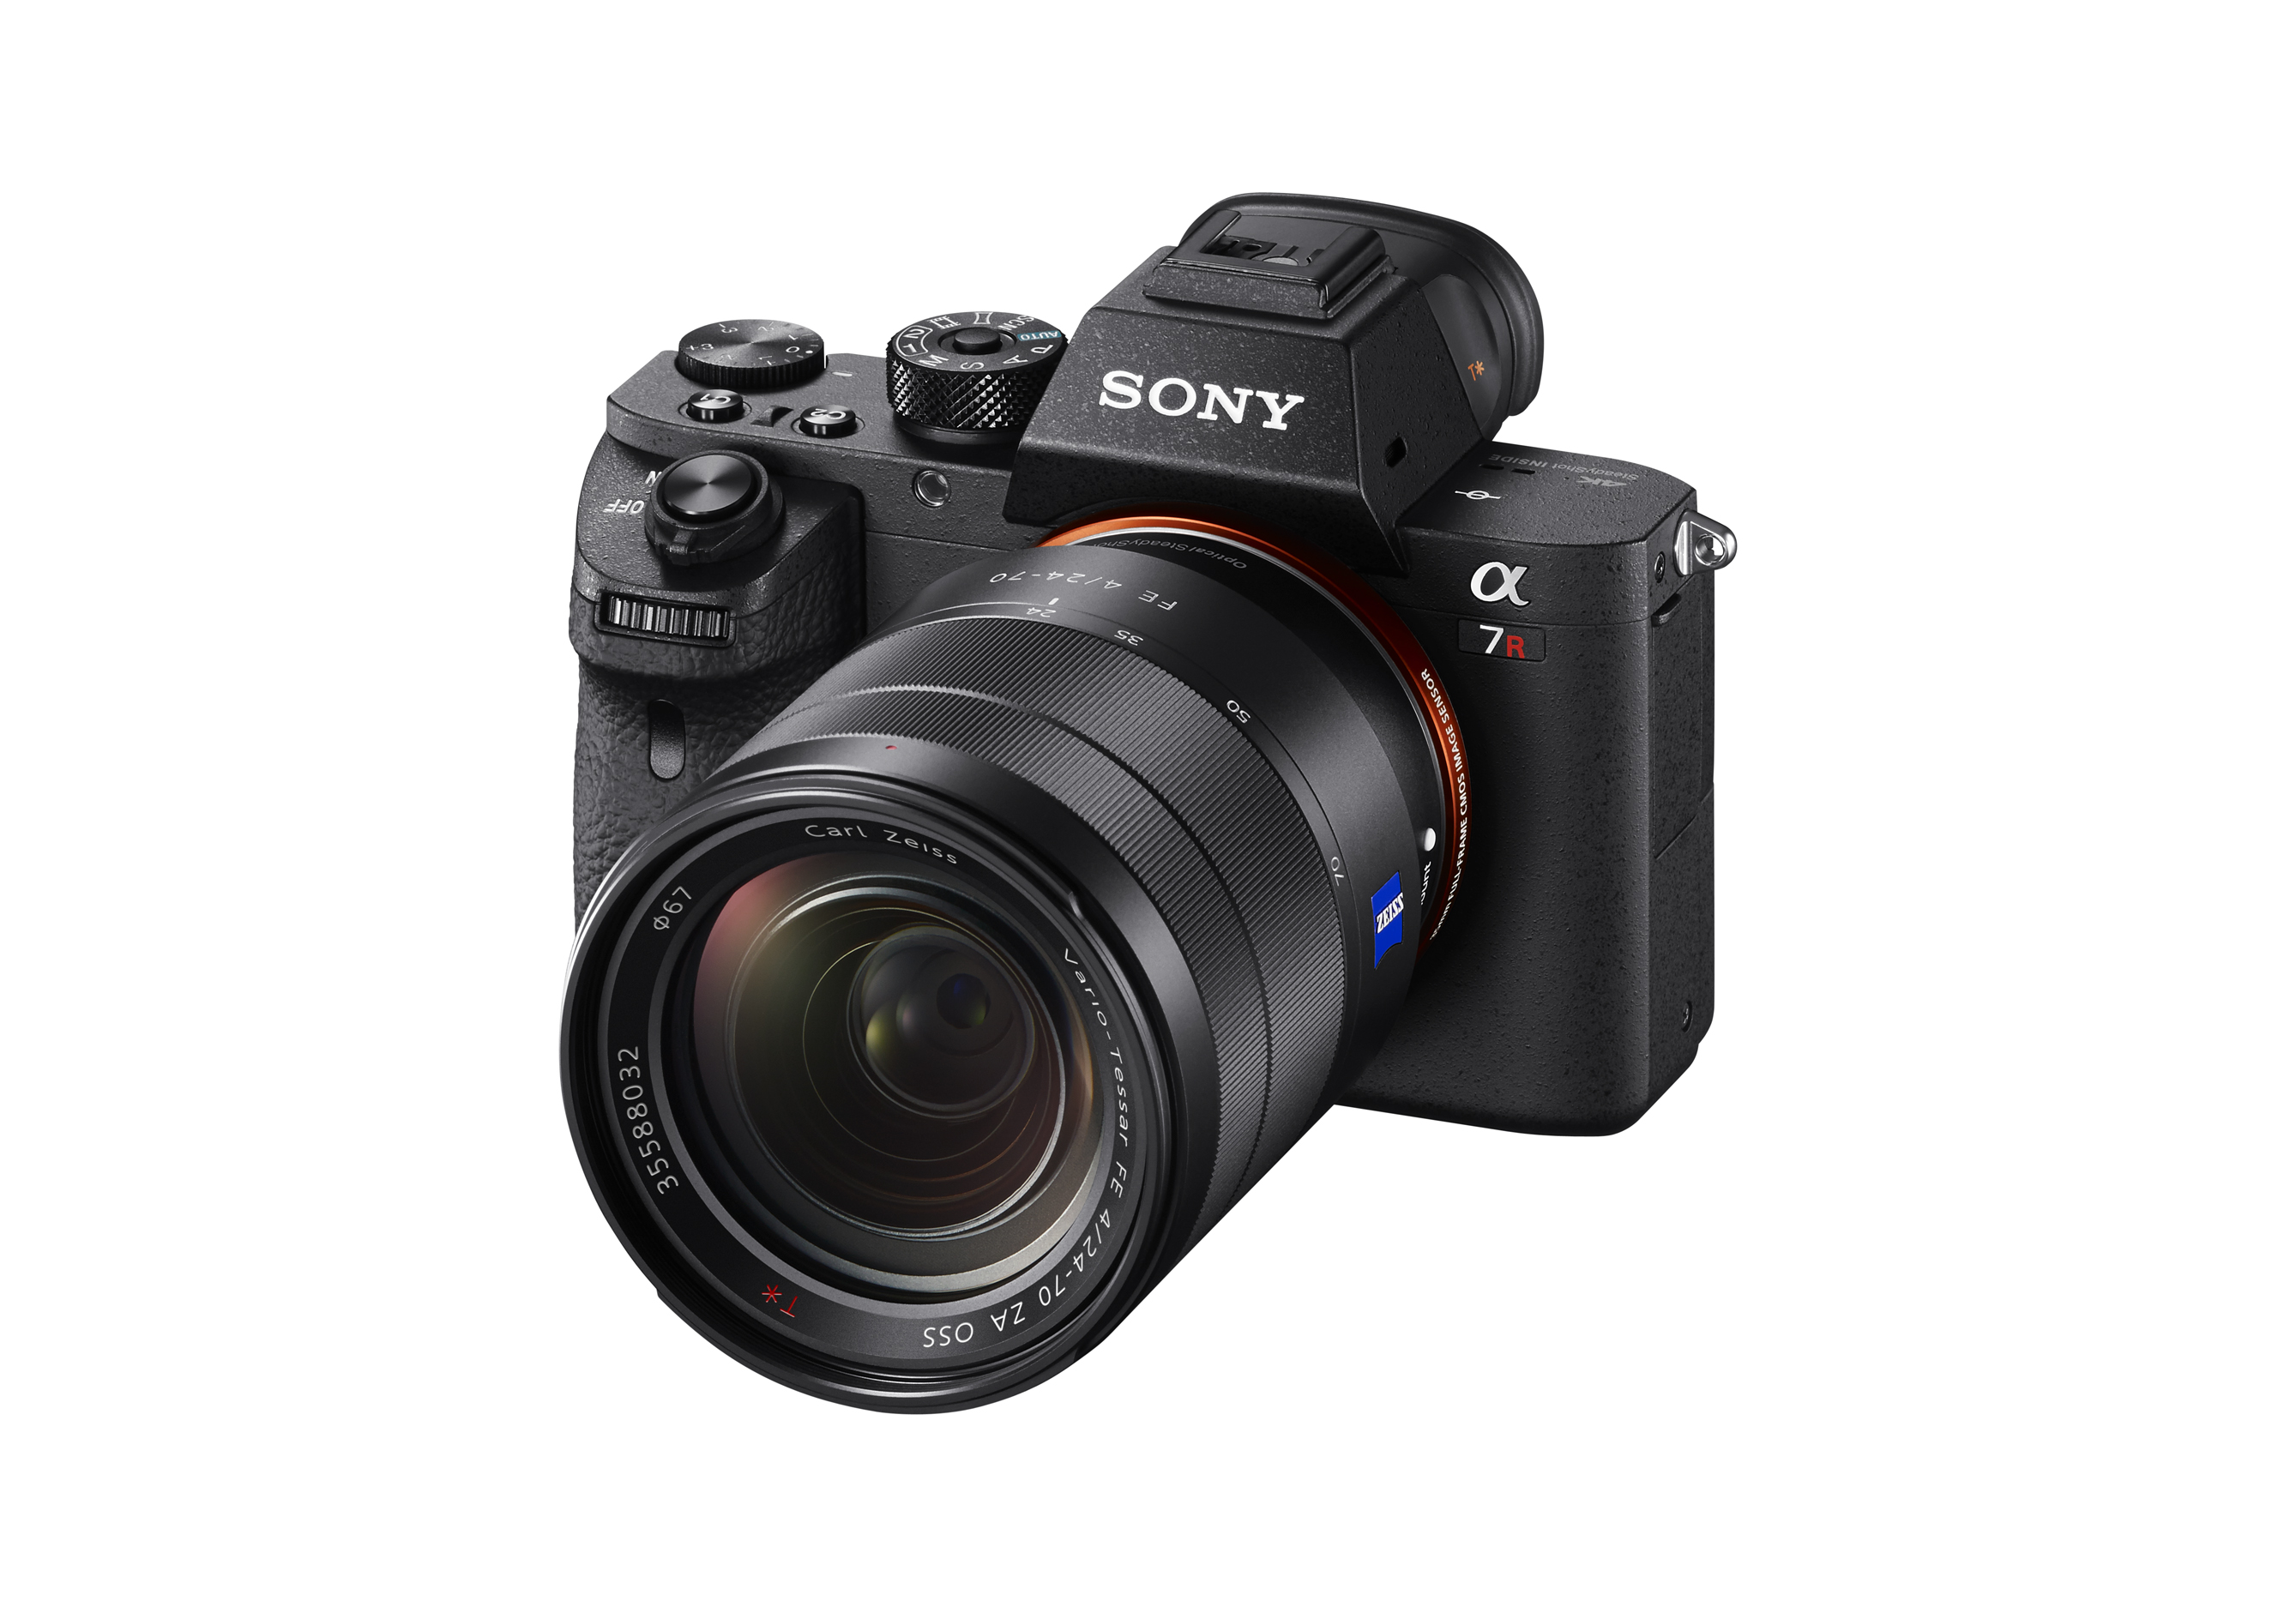
- Lens Options: Select lenses that suit the types of shots you plan to capture. Wide-angle lenses are great for expansive scenes, while telephoto lenses are ideal for close-ups and detail shots.
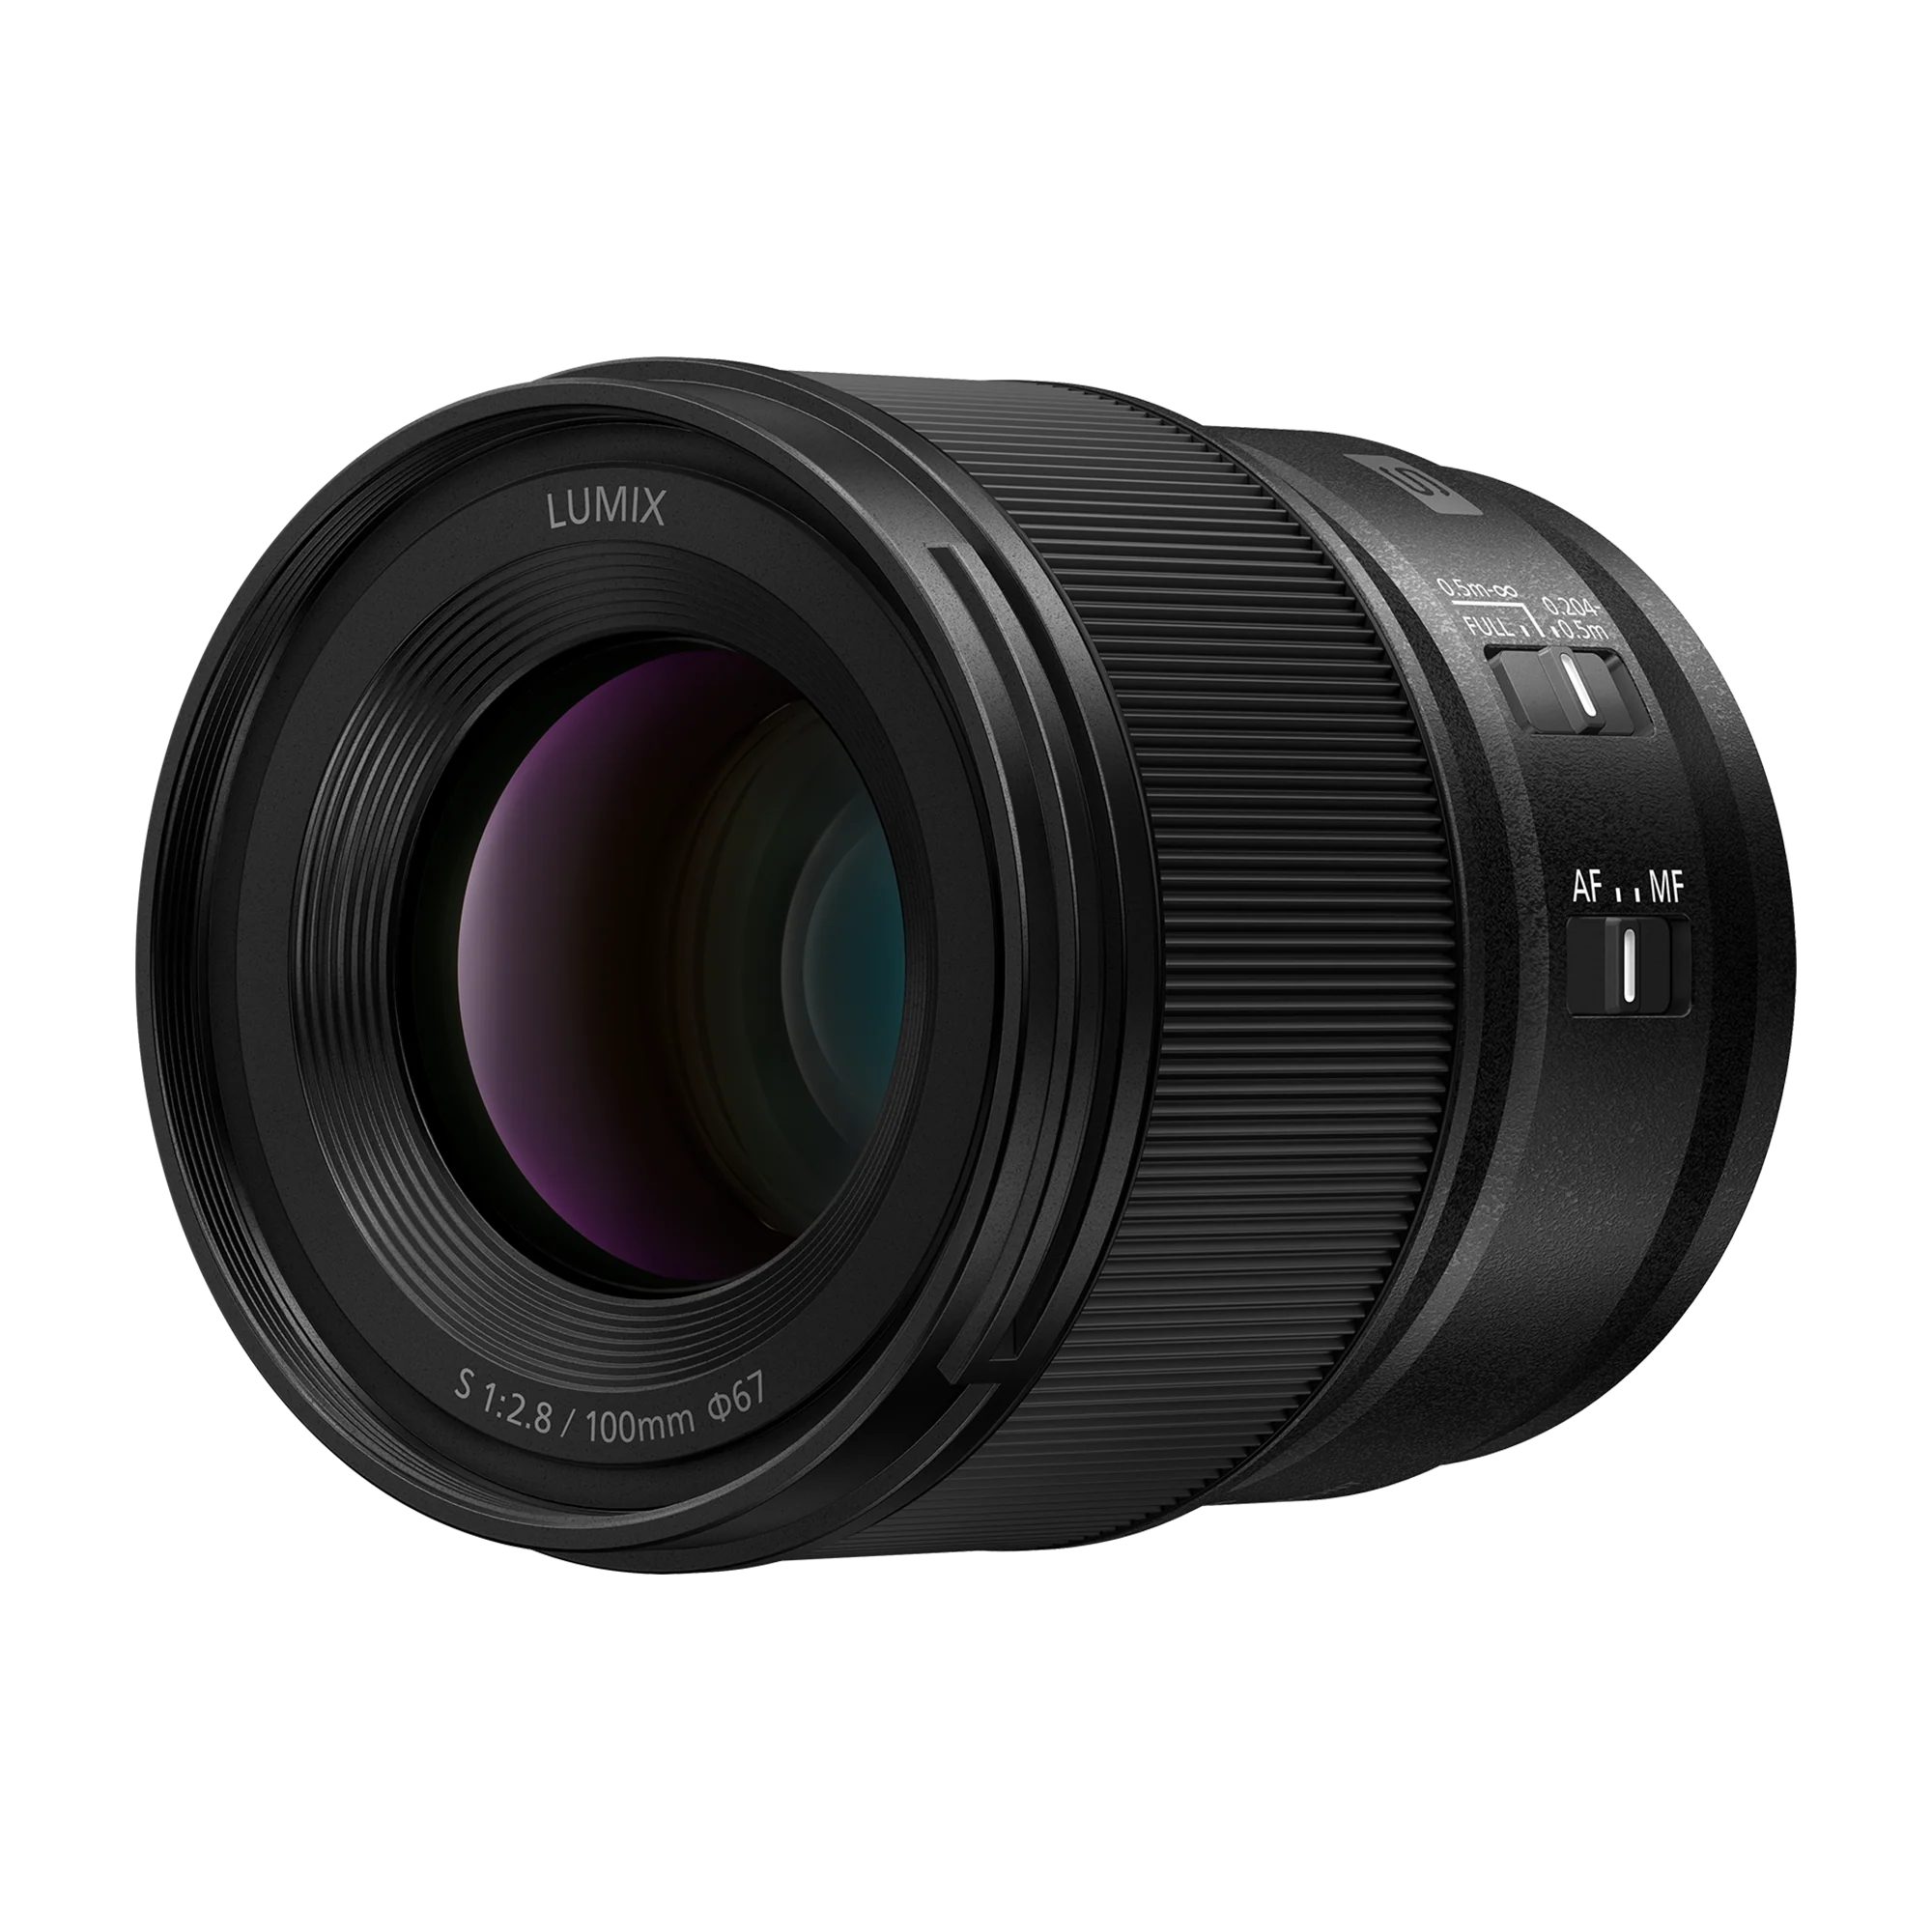
- Camera Accessories: Invest in accessories like tripods, gimbals, and sliders to stabilize your shots and achieve smooth camera movements.
Audio Equipment:
- Microphones: Use high-quality microphones to ensure clear and crisp sound. Lavalier mics are great for interviews, while shotgun mics are ideal for capturing on-set audio.

- Audio Recorders: Portable audio recorders can provide higher quality recordings than built-in camera microphones. They also offer more flexibility in sound capture.
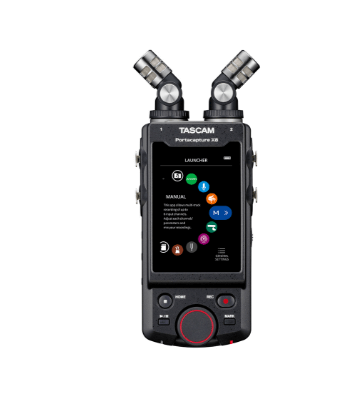
- Soundproofing: If filming indoors, consider soundproofing measures to minimize background noise and echo. This can significantly improve audio quality.

Lighting:
- Types of Lighting: Use a combination of softboxes, ring lights, and natural light to create the desired lighting effect. Soft, even lighting is usually preferable for most video content.

-
Lighting Setup: Set up a three-point lighting system with a key light, fill light, and backlight to achieve professional-looking results. This setup helps eliminate shadows and adds depth to your shots.
-
Light Modifiers: Use diffusers and reflectors to control the intensity and direction of light. This helps in creating a balanced and visually appealing scene.
7. Setting Up Your Filming Location
Choose a Suitable Location:
-
Location Scouting: Visit potential filming locations ahead of time to assess their suitability. Consider factors like lighting conditions, background noise, and available space.
-
Permits and Permissions: Ensure you have the necessary permits and permissions if you’re filming in public or private locations. This can prevent legal issues and interruptions during the shoot.
-
Set Design: Choose a location that matches your video’s aesthetic and message. A well-chosen location can add authenticity and enhance the storytelling.
Prepare the Set:
-
Set Arrangement: Arrange the set according to your storyboard. Place props, furniture, and other elements in their designated spots to create the desired visual effect.
-
Background Elements: Pay attention to the background elements in your shots. Ensure they are relevant to your story and don’t distract from the main focus.
-
Continuity Checks: Make sure all set elements remain consistent throughout the shoot. This helps in maintaining continuity and avoiding discrepancies in the final video.
Conduct a Test Shoot:
-
Test Lighting and Sound: Before the actual shoot, test the lighting and sound setup. Make adjustments as needed to ensure optimal conditions for filming.
-
Review Camera Angles: Check camera angles and framing to ensure they align with your storyboard. This can help identify and correct any issues before the main shoot.
-
Run Through the Script: Conduct a rehearsal with the cast and crew. This helps everyone get familiar with their roles and ensures a smoother shoot on the actual filming day.
Production Execution
With all preparations complete, it’s time to bring your vision to life. This stage involves the actual filming of your video. Staying organized and maintaining clear communication is crucial for a successful shoot.
8. Directing Your Shoot
Follow Your Storyboard:
-
Adhere to the Plan: Stick to your storyboard to ensure you capture all planned shots. This helps in maintaining the narrative flow and visual coherence.
-
Allow for Flexibility: Be open to spontaneous ideas and improvisation that might enhance your video. Sometimes, the best moments are unplanned.
-
Monitor Progress: Continuously review the footage to ensure you’re on track. This can help in catching any mistakes early and making necessary adjustments.
Communicate Clearly:
-
Team Briefings: Hold regular briefings with your team to ensure everyone is on the same page. Clear communication helps in avoiding misunderstandings and ensures a smooth workflow.
-
Provide Direction: Give clear instructions to your cast and crew. Be specific about what you need from each shot and be open to feedback and suggestions.
-
Maintain a Positive Atmosphere: A positive and collaborative atmosphere can boost morale and productivity. Encourage teamwork and recognize everyone’s contributions.
Monitor Quality:
-
Review Footage Regularly: Continuously check the footage for quality. Look out for issues like poor lighting, bad audio, or off-frame shots.
-
Adjust on the Fly: Be prepared to make quick adjustments to lighting, sound, or camera settings as needed. Flexibility is key to handling unexpected challenges.
-
Backup Footage: Regularly back up your footage to avoid losing any important content. This can save you from major setbacks in case of technical issues.
9. Capturing B-Roll
Plan for B-Roll:
-
Identify Key Moments: Plan for additional shots that can be used for cutaways and transitions. B-Roll footage adds depth and context to your video.
-
Storyboard B-Roll: Include B-Roll shots in your storyboard to ensure they complement the main footage. This helps in maintaining a cohesive visual narrative.
-
Schedule Extra Time: Allocate sufficient time in your shooting schedule for capturing B-Roll. This ensures you don’t rush through these important shots.
Shoot Diverse Angles:
-
Variety of Shots: Capture your subject from various angles to give you more flexibility during editing. Different angles can add visual interest and keep the audience engaged.
-
Close-Ups and Wide Shots: Include a mix of close-ups, medium shots, and wide shots. This variety helps in creating a dynamic and visually appealing video.
-
Detail Shots: Don’t forget to capture detailed shots of important elements. These can be used to highlight specific features or add emphasis to your story.
Record Ambient Sound:
-
Capture Environmental Sounds: Gather ambient sounds from your location. This can be useful for adding realism during post-production.
-
Use High-Quality Audio Equipment: Ensure you use good microphones and audio recorders for capturing ambient sounds. Clear and crisp audio enhances the overall production quality.
-
Incorporate Natural Sounds: Natural sounds like birds chirping, wind rustling, or city noises can add authenticity to your video and immerse your audience in the scene.
Post-Production
After filming, the real magic happens in the editing room. Post-production is where your video comes together through editing, sound design, and visual effects.
10. Editing Your Video
-
Use Professional Software: Tools like Adobe Premiere Pro, Final Cut Pro, or DaVinci Resolve offer advanced features for editing your video.
-
Trim and Arrange Clips: Cut unnecessary footage and arrange clips according to your storyboard. Keep the pacing tight to maintain viewer interest.
-
Add Transitions and Effects: Use transitions and visual effects sparingly to enhance your video without overwhelming it.
11. Sound Design
-
Clean Up Audio: Use software to remove background noise and enhance audio clarity.
-
Add Music and Sound Effects: Choose background music that complements your video’s mood. Sound effects can also add depth and realism.
-
Sync Audio with Video: Ensure that your audio tracks are perfectly synchronized with the video for a seamless experience.
12. Color Correction and Grading
-
Correct Color Issues: Adjust the white balance, contrast, and saturation to correct any color issues in your footage.
-
Apply Color Grading: Use color grading to enhance the visual style and mood of your video. This can make your video look more professional and polished.
13. Adding Subtitles and Captions
-
Create Accurate Subtitles: Ensure your subtitles accurately reflect the spoken content. This improves accessibility and viewer engagement.
-
Use Captions for Accessibility: Include captions for viewers who are deaf or hard of hearing. This also benefits viewers watching without sound.
-
Sync Subtitles with Video: Use software to sync subtitles perfectly with your video to enhance the viewing experience.
14. Exporting and Uploading
-
Choose the Right Format: Export your video in a format that is compatible with your chosen platforms. MP4 is a widely accepted format.
-
Optimize for Quality: Ensure the video quality is optimized for viewing on various devices without excessive file size.
-
Upload to Platforms: Upload your video to platforms like YouTube, Vimeo, and social media sites. Follow the specific upload guidelines for each platform.
AI Tools for Efficient Video Creation
Incorporating AI tools can significantly streamline your video creation process, making it more efficient and cost-effective.
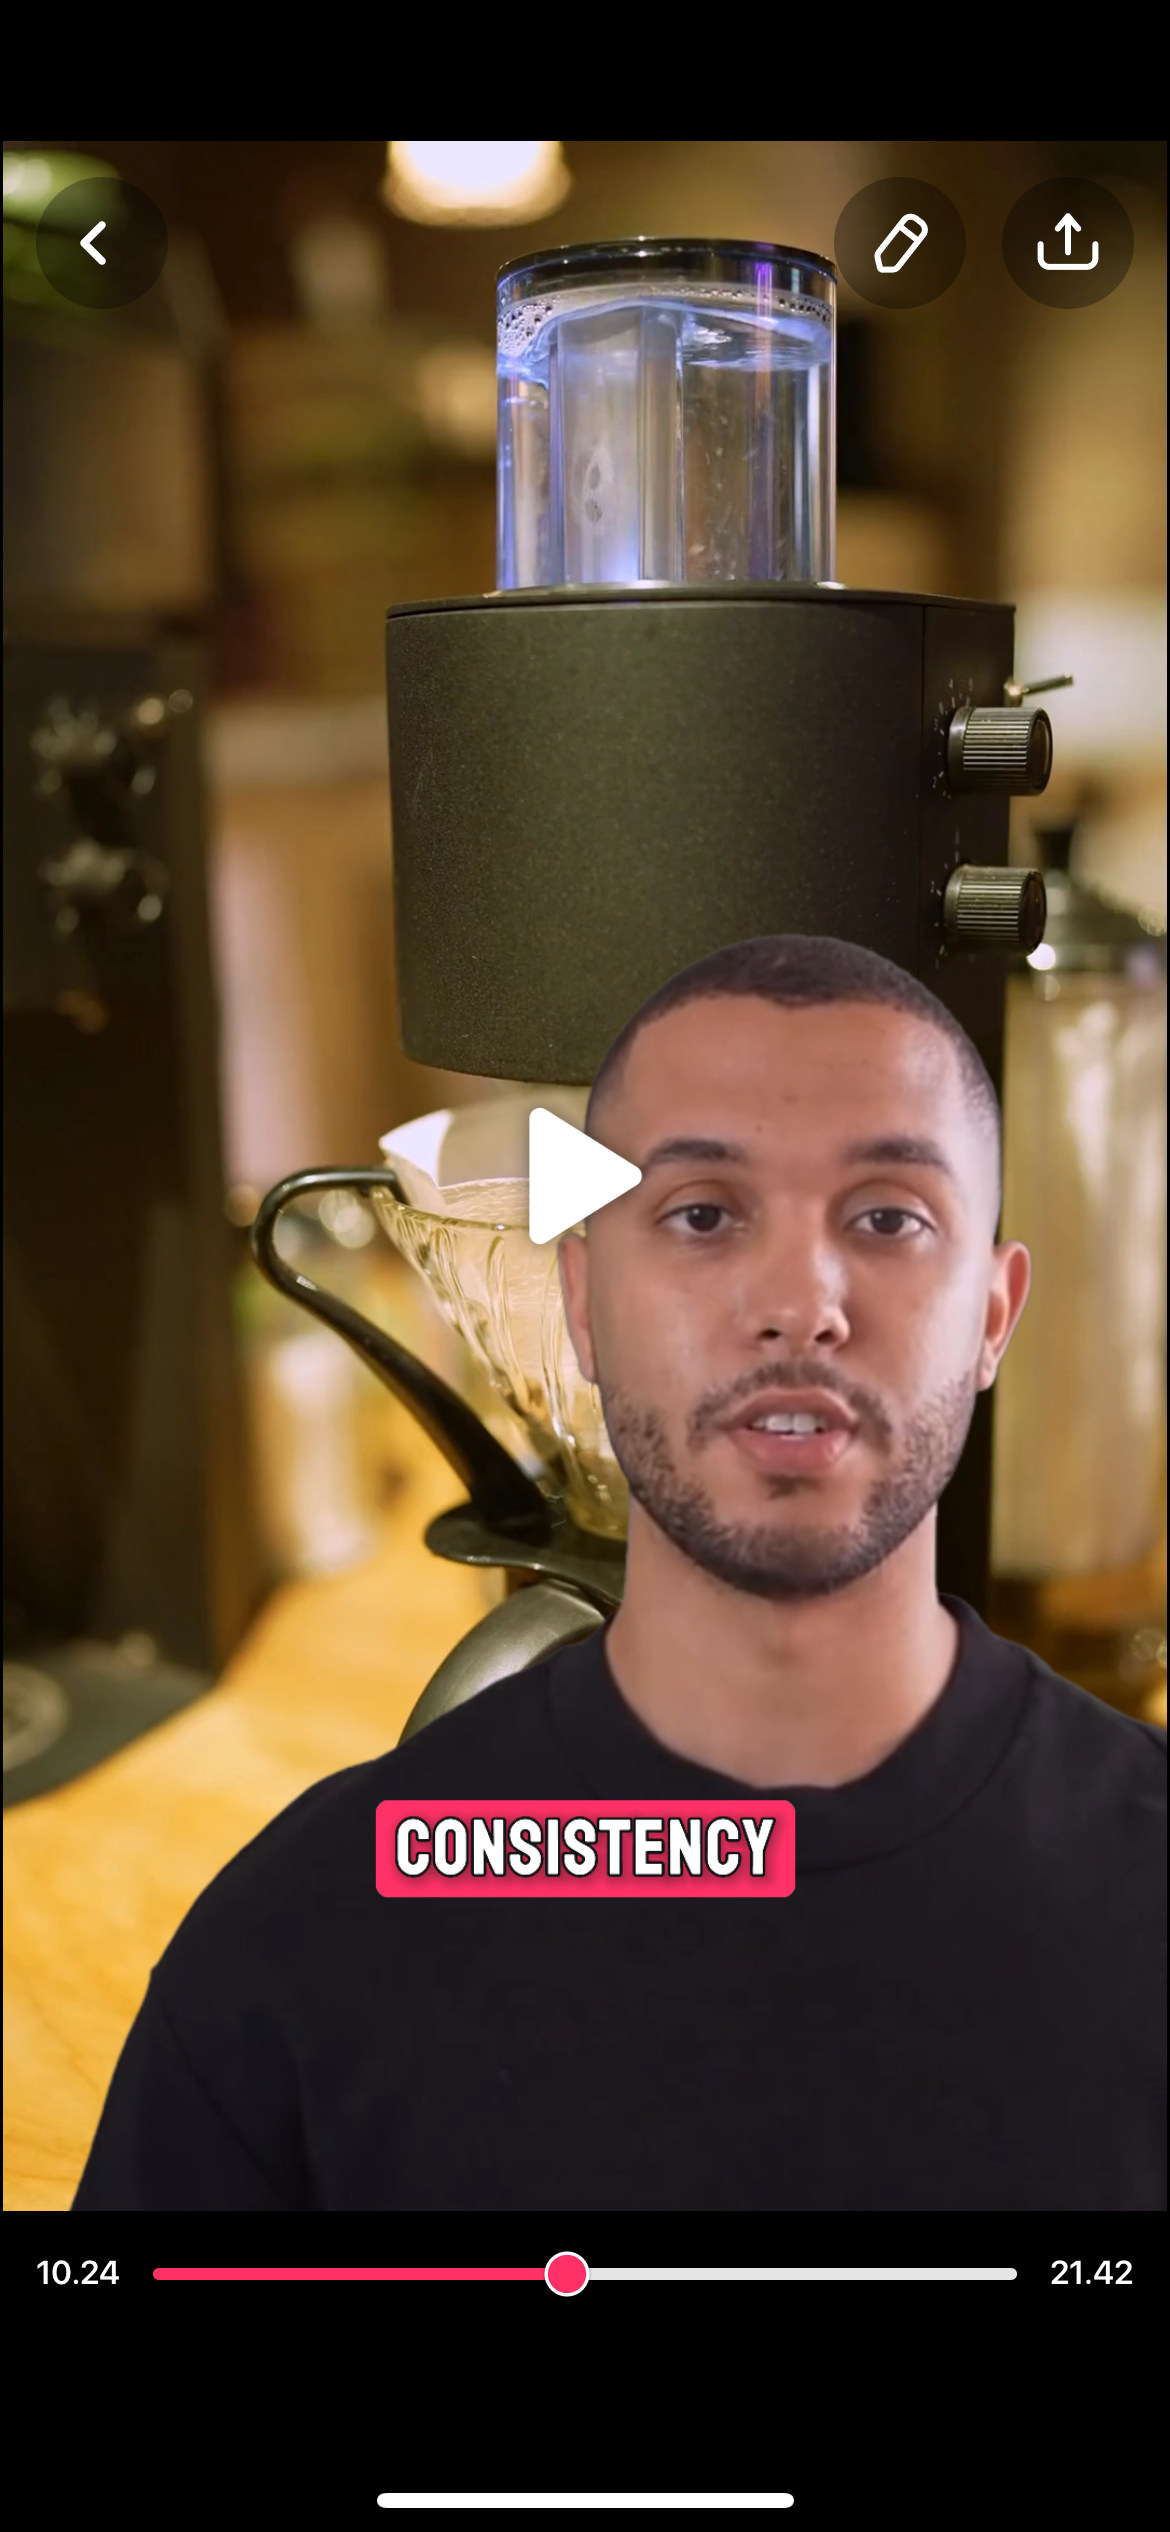
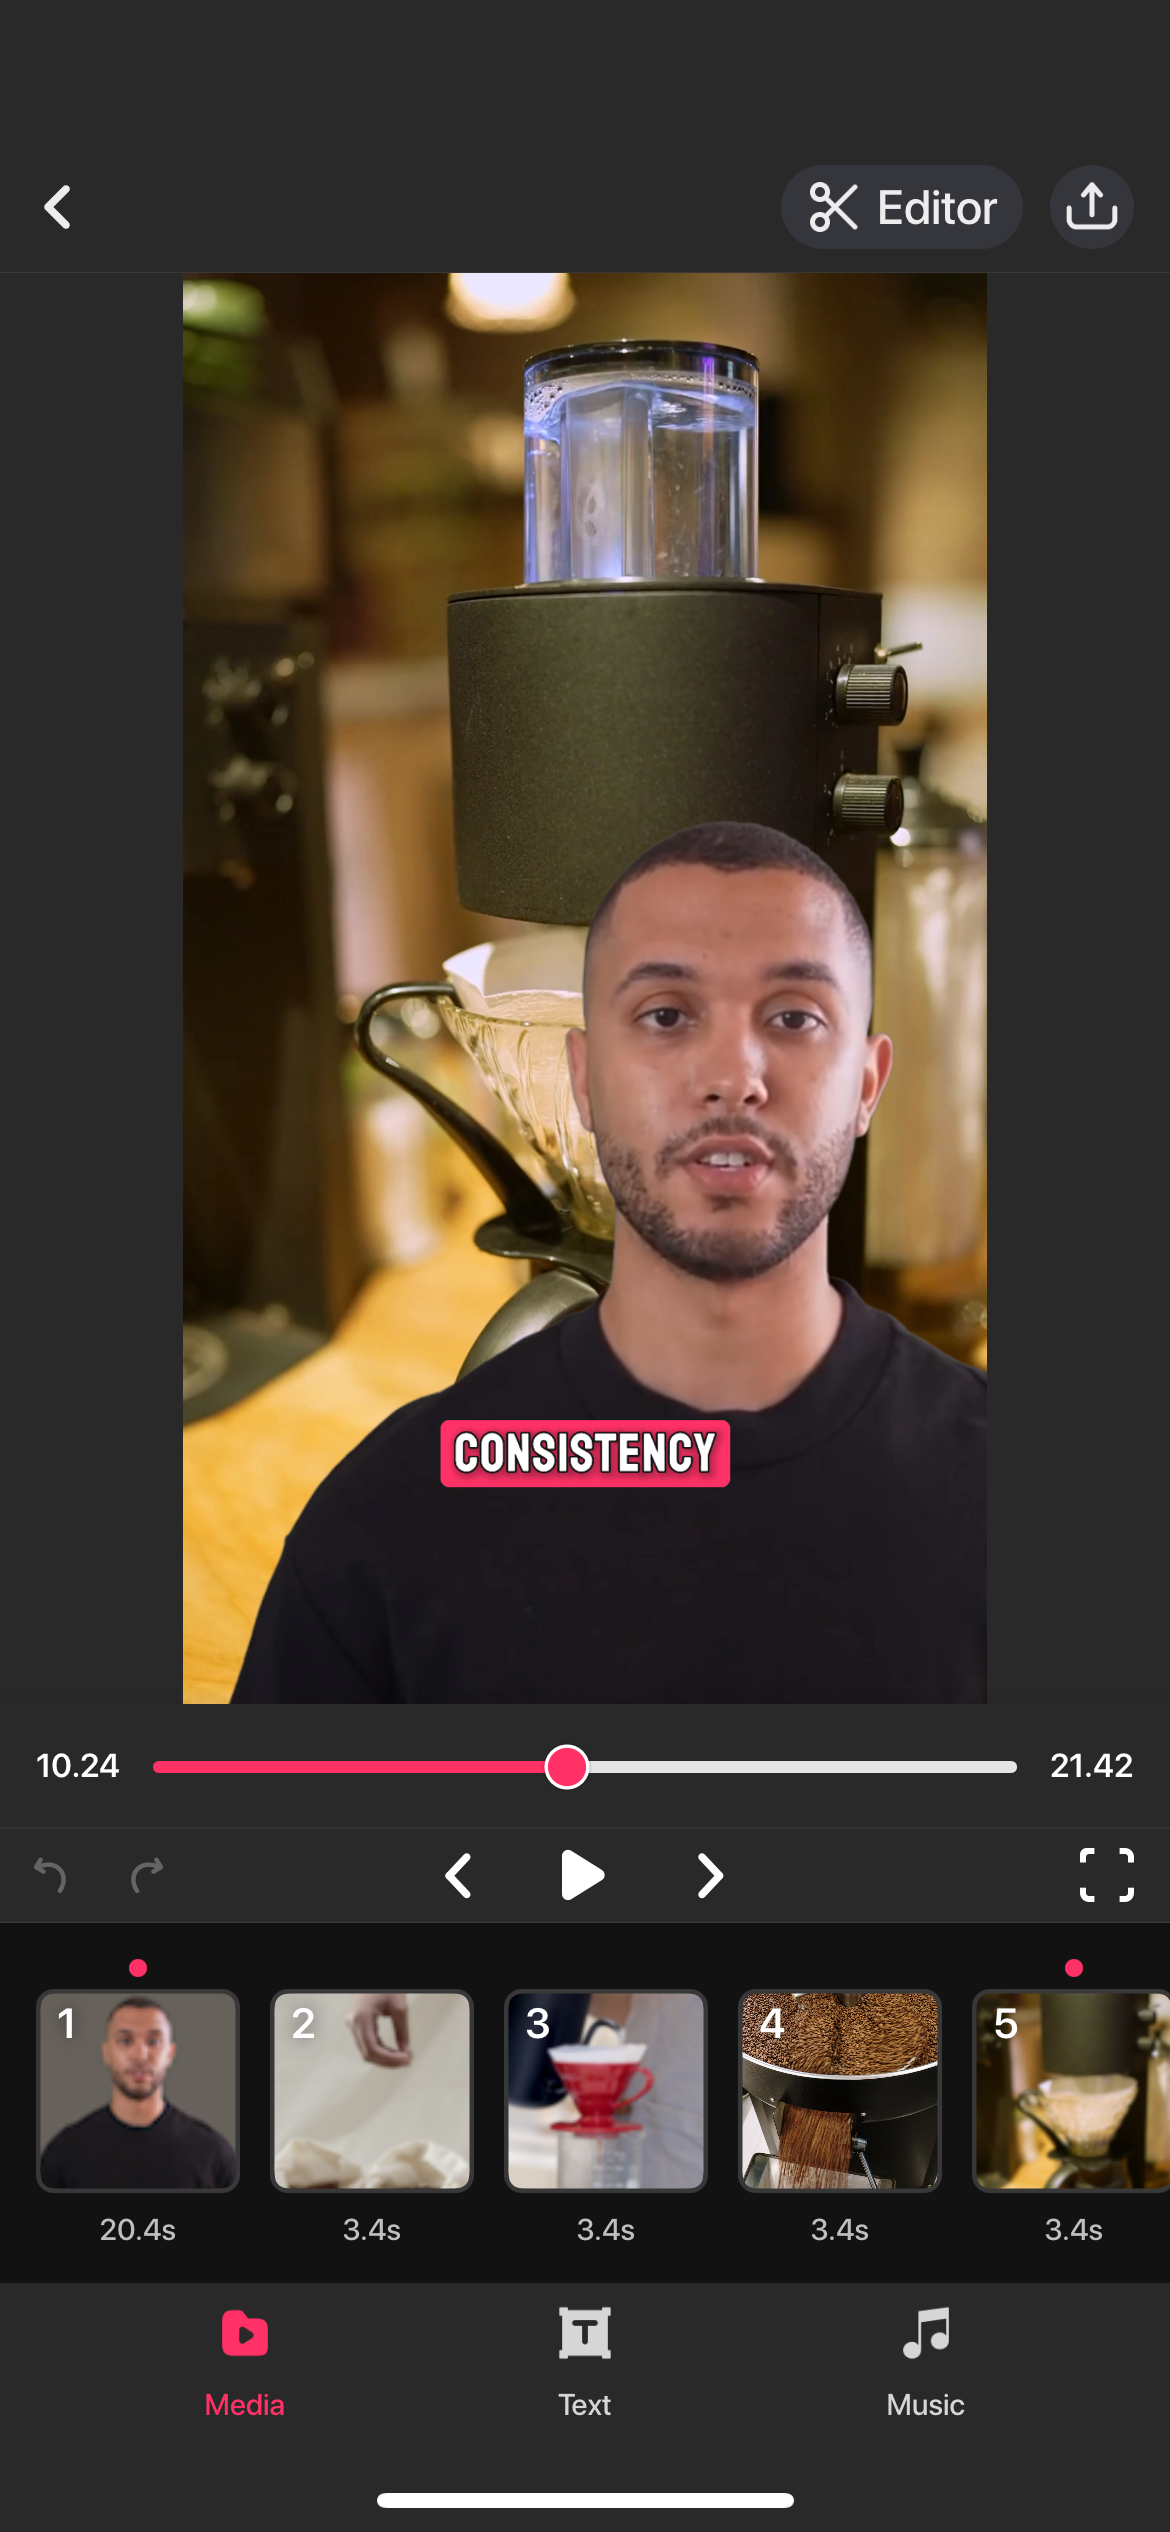
15. Using Zoomerang AI

- Sign Up and Explore: Start by creating an account on Zoomerang AI. Familiarize yourself with its features and interface.
.jpeg?)
- Describe Your Video: Use the chat interface to describe the type of video you want to create. Specify details like the video’s purpose, length, and style.
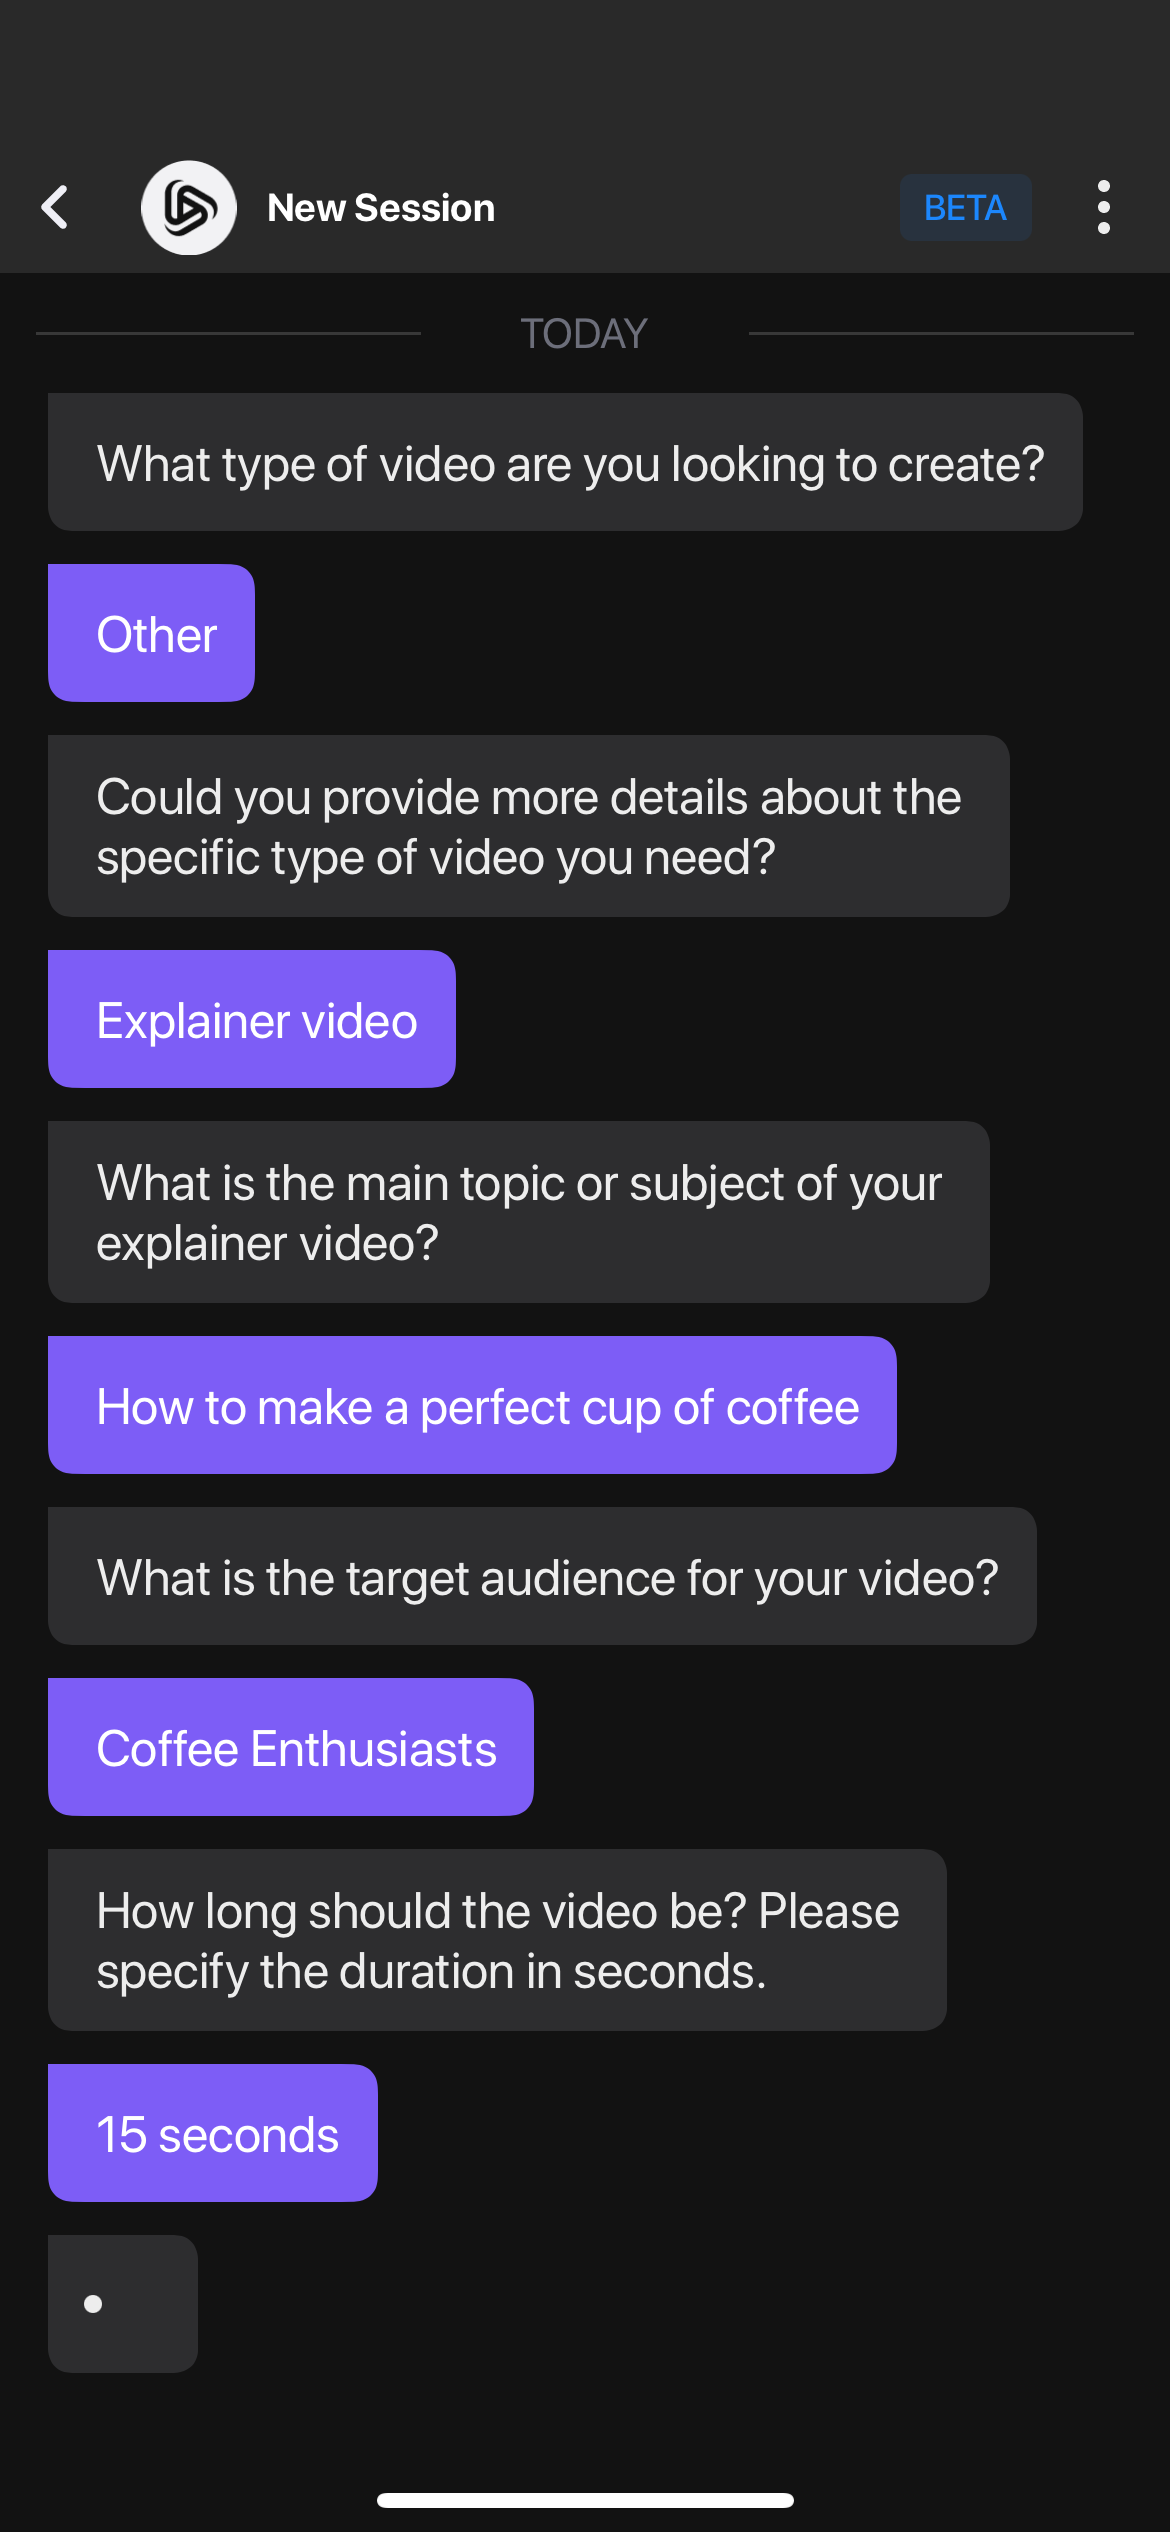
- Select Visuals and Music: Choose from the available visuals and music options to match your video’s mood and theme.
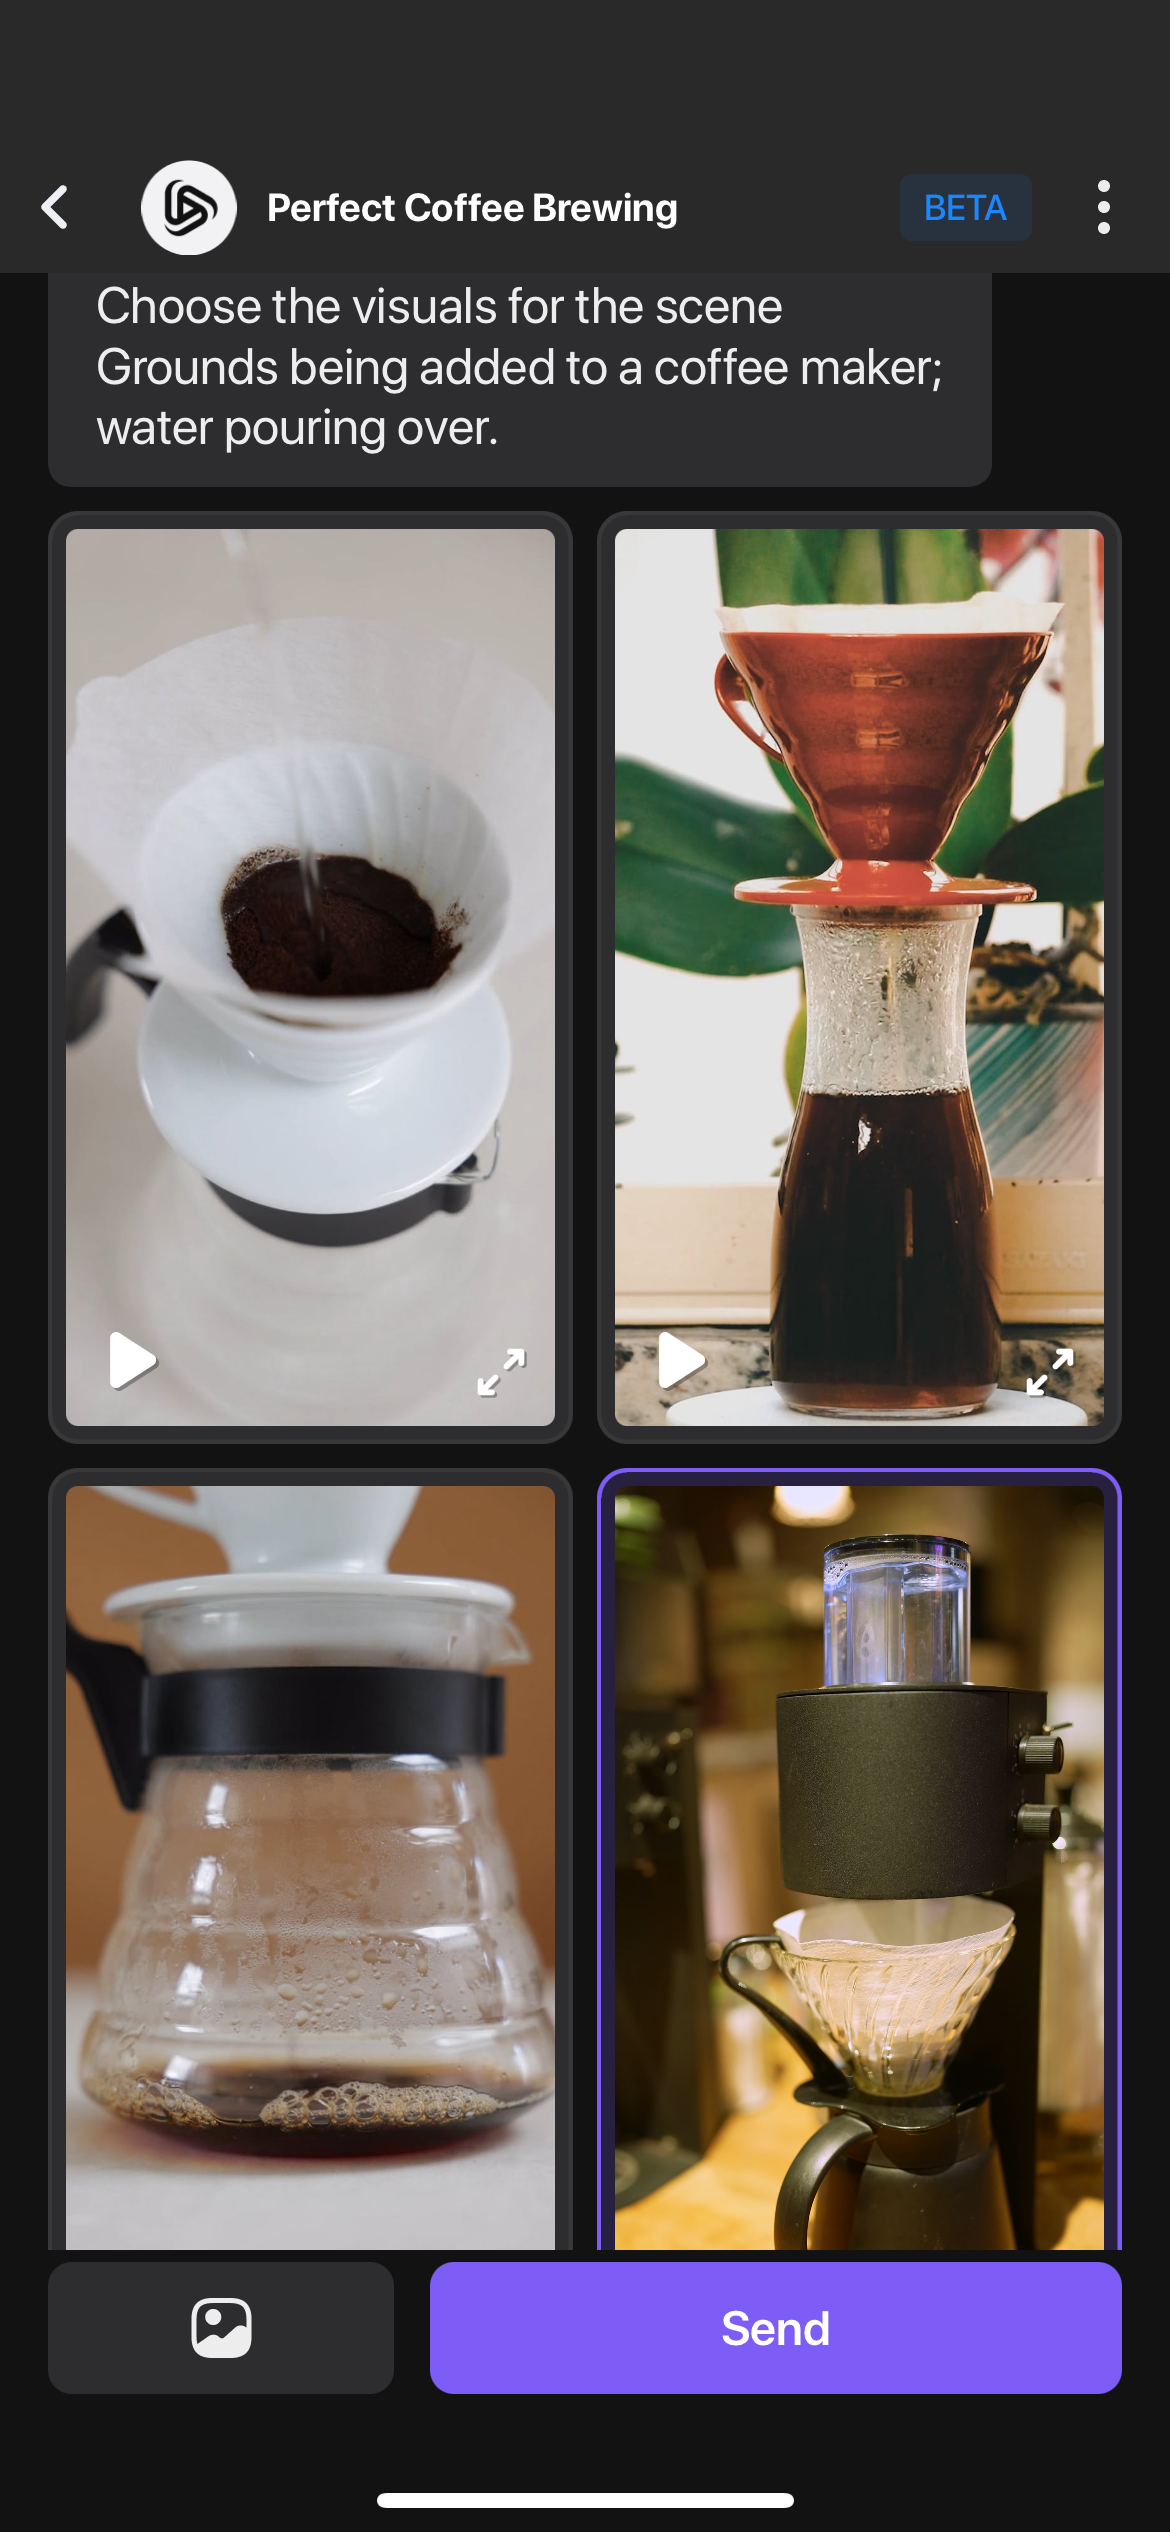
- Generate and Edit: Let Zoomerang AI generate a draft of your video. Review and make any necessary edits to ensure it meets your standards.
Conclusion
Creating a successful video marketing campaign involves meticulous planning, creativity, and technical expertise. By following this comprehensive checklist, you can ensure that every aspect of your video marketing strategy is covered, from pre-production planning to post-production editing.
Leverage AI tools like Zoomerang AI to enhance efficiency and deliver professional-quality videos with ease. With the right approach and tools, you can create compelling videos that captivate your audience and drive your marketing goals in 2024.
 Sargis Avagyan